Installing Snort & Configuring With Custom Rules
In this
blog, I'll guide you from installation to setting up custom rules for snort. so
before we move on you must've got this question what snort is? so snort is the
intrusion prevention system in which we can set custom rules to get alerts for
the malicious activity which is happening in our system.
Here I'll
be setting up snort in my kali machine!
STEP :1 The
first step is to head to your network section & in that Promiscuous mode
change it to > allow all as you can see in the below picture.
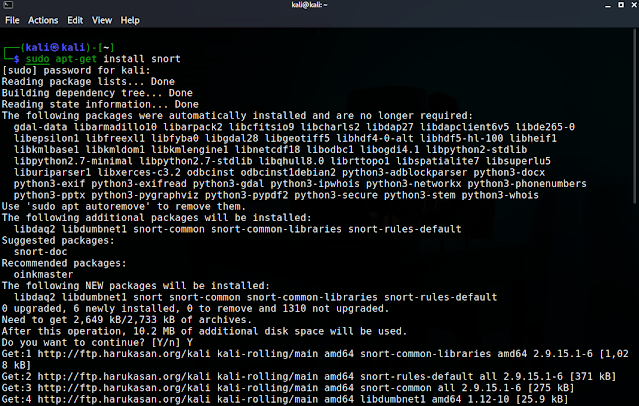
STEP 2 : Type the command sudo
apt-get install snort
While setting up this you'll be
asked an IP range so you should type that only it looks something like this
192.168.1.0/24 (your ip.0/24)
STEP 3 : After installation, we've
to change the directory where snort is installed so here is the command
cd/etc/snort after this use the ls -l command to list all the files.
STEP 4 : Here I don't want to mess
up with the original file so I've created a backup of this so the command
is sudo cp snort.conf snort.conf.back
STEP 5 : since I'm just testing some
rules I've created another test file command with : sudo cp
snort.conf test_snort.conf
STEP 6 : Now I've edited the
test_snort.conf file with the nano editor you can use whatever editor you
prefer then you've to paste the IP range like in the picture below & after
that hit ctrl + x and then Y following enter.
STEP 7 : Run the following command to check if snort is installed correctly sudo snort -T -i eth0 -c /etc/snort/test_snort.conf
STEP 8 : Now to add custom rules
I've created a file called custom.rules with the command sudo touch
custom.rules and then I've edited this with nano editor and add the below
rules.
alert tcp any any -> $HOME_NET
21 (msg:"ftp connectionn attempt"; sid:1000001; rev:1;)
alert tcp any any -> $HOME_NET
22 (msg:"SSH cnnection attempt"; sid:1000002; rev:1;)
alert tcp any any -> any any
(content:"www.facebook.com"; msg:”whoa! Some one Is visiting facebook
at this time ”; sid:10000003; rev:>
alert tcp any any -> any any
(content:"www.youtube.com"; msg:"Youtube alert....";
sid:1000004; rev:1;
STEP 9 : consequently I've created local.rules file and added the following command : include $RULE_PATH/custom.rules
STEP 10 : Now I've opened firefox and searched youtube.com
STEP 11 : we are all set we just need to fire the snort with command: sudo snort -A console -q -i eth0 -c /etc/snort/test_snort.conf and you can see that we are getting the alerts that were caught by snort.


Comments
Post a Comment